
POD Print Preparation: Get Your Files Ready
Remove backgrounds, enhance detail and set canvas dimensions and DPI for transparent PNG print files.
Results
Your completed designs will appear here.
START WITH AN IDEA
POD Print Preparation: Get Your Files Ready
A strong design still needs the right background, pixel dimensions and placement. Prepare for Print combines these tasks in a fixed order: background removal, enhancement, print sizing and compression. Enable only the steps needed for your file.
Try it above
What to bring
Add up to 100 images. T-shirt, sticker and poster presets fill in file settings; they do not create product mockups. Adjust width, height, DPI, placement and individual steps to match your printer’s requirements.
What you get
Use the preview to inspect the cutout and layout. Enhancement shows source and intermediate dimensions. When print sizing is also enabled, the final file uses that canvas; it is not multiplied again by the enhancement factor.
Three steps to your next design
- 01
Pick a print preset or enter the canvas size and DPI requested by your printer.
- 02
Enable the necessary steps and check the preview, enhancement size and final dimensions.
- 03
Open the finished PNG and inspect transparency, edges, dimensions and wording before printing.
A direction to try
The product photograph illustrates a possible print application, not a generated mockup from this tool. The rabbit comparison below is an actual background-removal example for checking light fur and transparency.
Before you choose
Use plain-background removal for uniform colours, or smart cutout for complex backgrounds. Check fine lines and pale subjects carefully. Enhancement cannot guarantee recovery of lost detail. Lossless compression preserves colours.
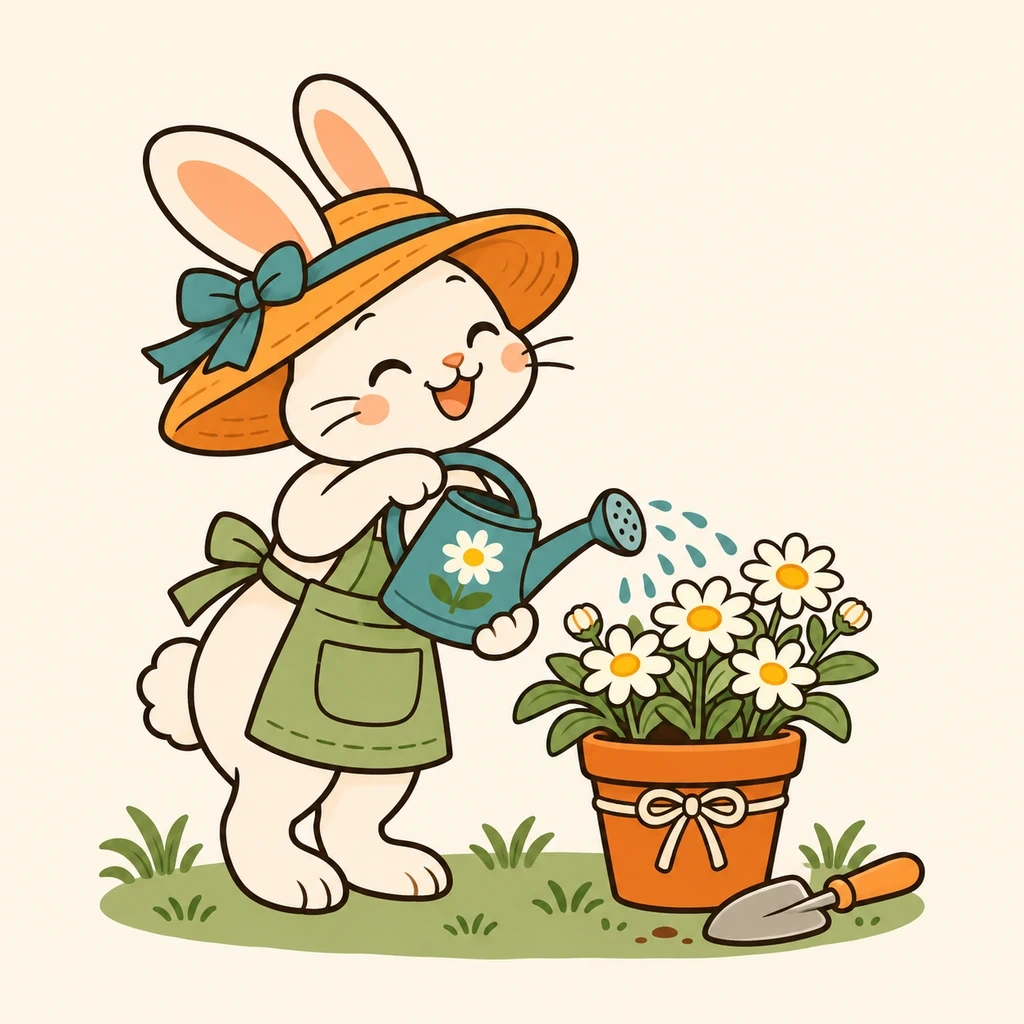
Original
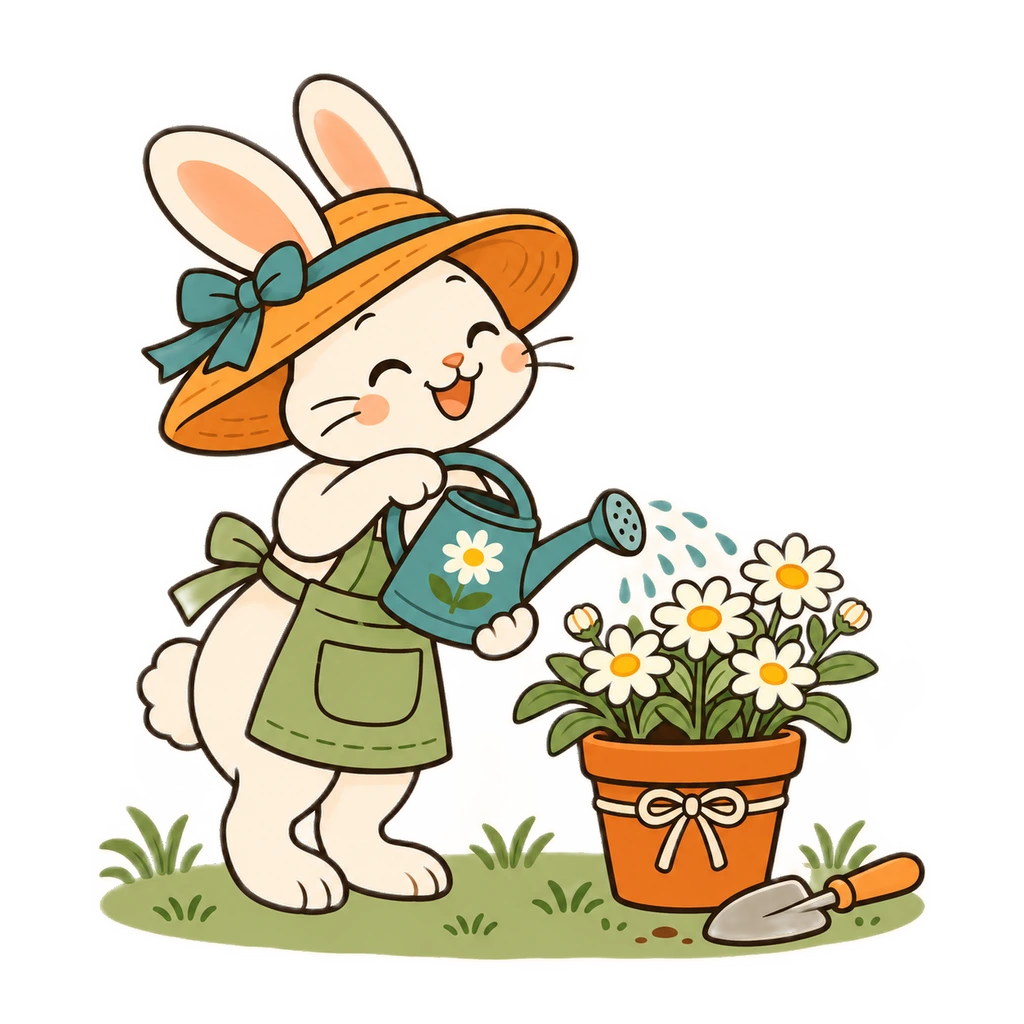
After
POD DESIGN STUDIO
Choose your next creative step
From exploring a visual style to preparing print files, each tool has a clear purpose.

Art style + niche
Combine style references with subject artwork to create new POD designs. Choose presets or upload your own images.

Niche variations
Turn one original design into related artwork for different themes, interests and audiences.

Design to design
Use an existing image as a reference for a fresh version of your print design.

Change background
Replace a uniform outer background while keeping the existing artwork as the starting point.

Edit design
Add a headline or describe changes to the colours, text and elements in an existing design.